This post might be created with help from AI tools and carefully reviewed by a human (Anthor Kumar Das). For more on how we use AI on this site, check out our Editorial Policy.
DIY How To Make A Beehive Moisture Board (Full Guide)
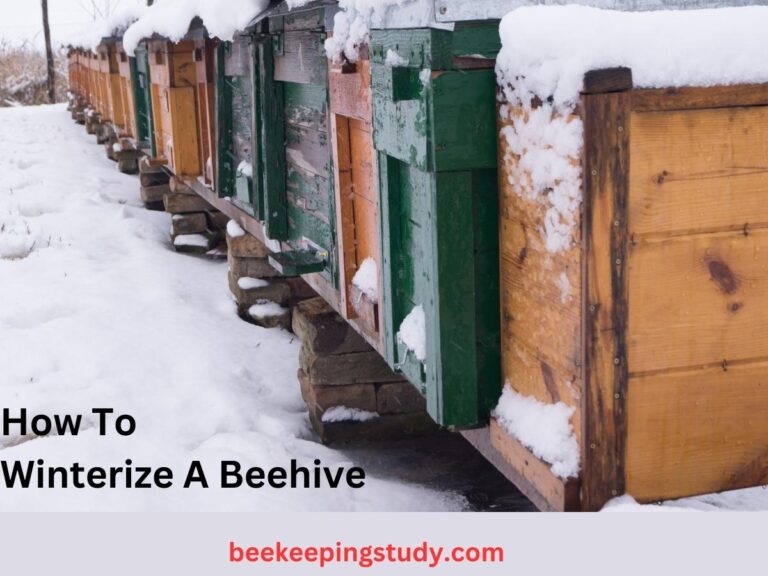
Proper ventilation is the most essential thing for bees during winter. Beekeepers need to work hard to keep their colony safe from the cold.
During winter the bottom of the hive can get wet if you haven’t taken any steps against moisture.
Moisture inside your hive is very bad news for your colony. Because wet and cold can be deadly for bees inside the hive. Having extra moisture can cause the colony attacked by viruses and bacteria.
So, keeping your bees at a perfect temperature, and ensuring proper ventilation should be your first priority during winter.
The best way to protect your bees from cold is to place a moisture-controlling board inside your beehive. You can purchase it from various sources. You can also make it on your own at your home. This will require a few simple steps.
Now you might be wondering how to make a DIY Beehive Moisture board at home.
Don’t worry in this tutorial I am going to show you step-by-step how to make a moisture board at home. Also, I will tell you at the end of the post where you can purchase a beehive moisture board at a cheap price.
Why Moisture In The Hive Is A Problem?
As I already told you that moisture is a problem for your beehive because it can cause various diseases to your bees. If your beehive remains wet for a few days it can make serious damage to your beehive.
The tiny drop of water inside your beehive can wash away or kill your bee broods too.
Honey bees can live in cold weather. But if it is too cold or too moist then they might die within a few days of cold.
So, you can understand how danger alarming it is for your beekeeping journey. You must winterize your beehive before the winter arrives.
A beehive moisture board will be a great one for winterizing the hive. It is especially needed for beekeepers who are living in very colder regions.
How Do I Keep Moisture Out Of My Beehive?
By ensuring proper ventilation you can keep moisture away from your beehive. There are several ways of doing this like placing a quilt box or placing a moisture box inside a beehive.
Using a moisture board is one of the discovered ways of keeping moisture out of beehives. We are going to discuss and learn about how to make a moisture board for your beehive in this post.
What Is A Moisture Board?
Moisture board is used to ensure proper ventilation and to maintain proper temperature by keeping bees dry inside a beehive. Moisture board is really such an important thing during winter for cold regions.
You must place it inside your hive at the beginning of the winter If you are in a very cold region.
The moisture board allows proper ventilation. It keeps the temperature of the beehive at the required level. Because it ensures temperature regulation inside the hive.
If your region’s temperature is usually below 15ºC during winter, a moisture board is must necessary to protect your hive from the cold.
What Is A Moisture Board For A Beehive Made Of?
Moisture board for a beehive is usually made by absorbing materials. That material can absorb moisture from one source and release it in the other or can keep it.
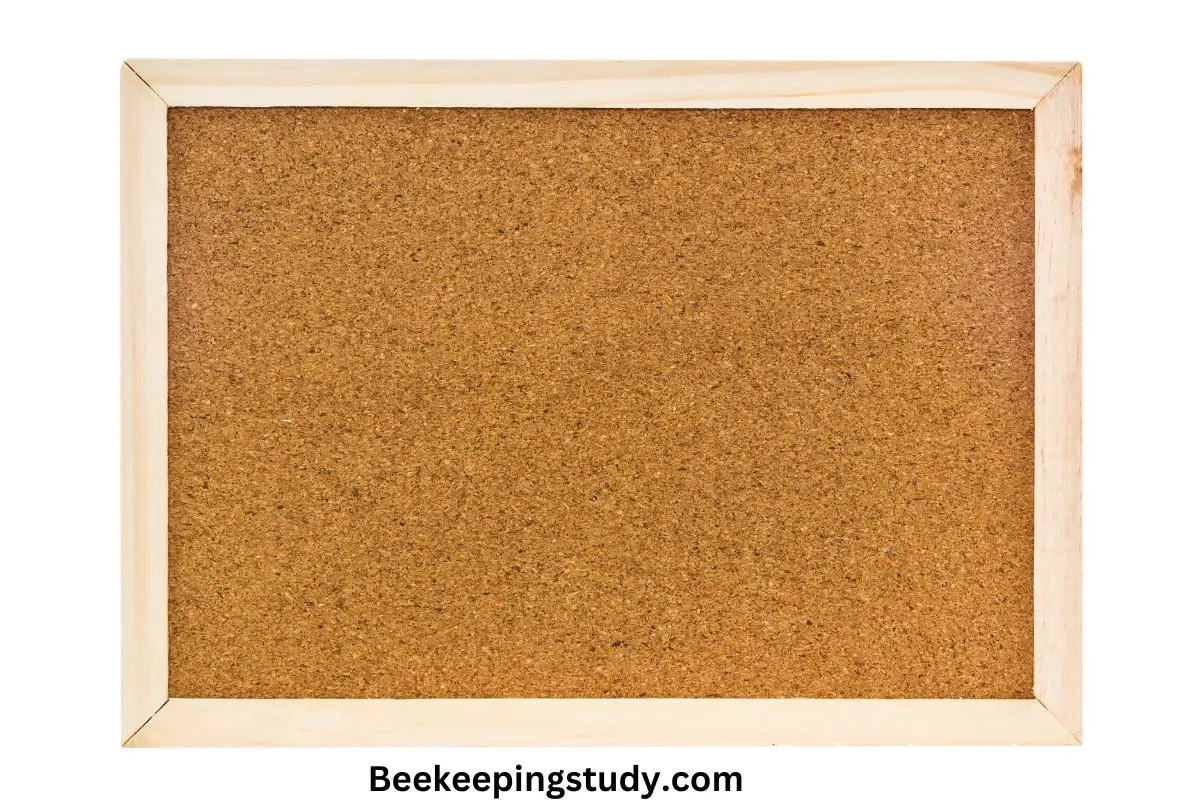
It is made by homasote or similar types of fiber wallboards. If you don’t know about the homasote board have a visit at this link.
DIY Guide To Make A Beehive Moisture Board At Home
To make the moisture board for our beehive we need a homasote material which is the main thing for our board. Then we need very few components which are not too expensive. You may need a ruler and pencil for measurement and marking purposes.
Materials Needed To Make Our Beehive Moisture Board
Gather the components before starting to make the moisture board as described below.
- Homasote Board: You can purchase a homasote material board from a shop that provides building construction materials.
- Hammer And Some Pins: If possible try to manage a hammer and carving chisel or shared saw and some pins.
- Power Tools: If you can have some other power tools that will be beneficial for making your work fast and effective.
- Labors For Large Scale Production: If you have a large number of bee colonies you might need a large amount of beehive moisture board. So, for large production of moisture board, you can hire some labor to do the production for you.
Make The Moisture Board Now Step By Step
If you have accumulated all the necessary tools and materials then we are ready to start making our moisture board for our beehives. Let’s start making the moisture board step by step.
- Step 1: At first select a wide free space to make your work free of disturbance. And take all the necessary equipment and materials like a homasote board, hammer, saw, chisel, scale, pencil, etc with you.
- Step 2: First we will cut our homasote board. When you purchase it from the shop it is pretty large in size. Usually around a few feet long and a few feet in width. So, if you managed to cut it properly and efficiently you will be able to make the best use of it. We will cut it by maintaining a 4:5 ratio. 4 in width and 5 in height.
The height and width of the moisture board vary depending on different types of beehives. Usually, it should be 16 inches wide and 20 inches long which is actually my case. So, decide the height and width of your moisture board. As an example, I will discuss now my measurement which is 16 inches wide and 20 inches long for my moisture board.
- Step 3: First of all use your scale or inch tape to mark a point at the beginning of the homasote board. Take the longer part of your homasote board and pick a point and mark it. Then below the 20 inches distance apart from that point pick another point and mark it. So, our moisture board’s height measurement is done.
- Step 4: Now pick 2 points beside the previously chosen 2 points. The new 2 points should be 16 inches away from those 2 points. So, our width measurement is done in this step.
Try to pick the point by considering the x and y plane in order to make maximum moisture boards from one homasote board.
For height measurement, try to keep the x coordinate the same for both points. For width measurement, keep the y coordinate the same for both points. So, your 4 points will be (x,y), (x,y+20), (x+16,y), and (x+16,y+20).
- If you don’t want to make the maximum use of your moisture board you can skip this calculation. Just pick random 4 points and make sure your moisture board height and width are 20 inches and 16 inches respectively.
- Step 5: Now we will mark the center of our moisture board and make a groove. The groove should be made at the center of our moisture board which will be 1 inch wide and 0.375 inches thick. Its height should be equal to the height of the moisture board in my case it is 20 inches.
- Step 6: After marking the area of the groove use the curving chisel to remove the material from the homasote board. Make sure you work very carefully so that the groove is made with proper height, width, and thickness as mentioned above.
The groove is very very important for your moisture board. Because it mainly allows ventilation, stretching, contraction, swelling up, and other necessary changes with respect to the situation.
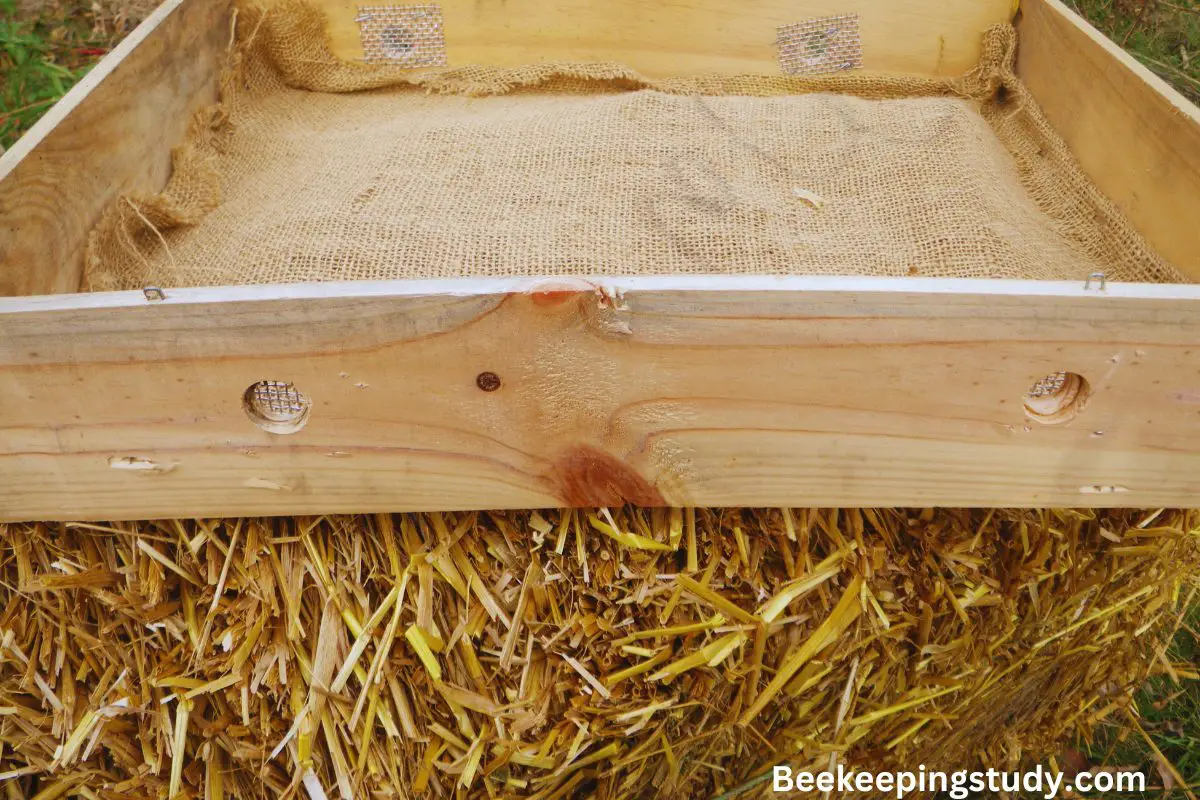
- step 7: You have to make a feeding shim or you can say a spacer where we are going to put our moisture board. It is very easy to make using wood. Just take 4 straight pieces of wood and cut them using a sharp saw. 2 wood will have an equal size to the height of our moisture board and the other 2 should be equal to the width of the moisture board. Just connect them using either glue or using pins and a hammer.
- Step 8: Now connect your grooved homasote board with the spacer using pins or glue. That’s it your beehive moisture board is ready to use.
That’s it our moisture board is ready to use. Now you have to place it in a proper location inside your beehive.
How To Use A Moisture Board In A Hive
Moisture board should be placed at the top and inside the outer cover of your beehive. Because when the air is warm moisture is started to rise at the top of your beehive. Moisture board absorbs the extra moisture from the air and prevents it from going inside your beehive.
Also, when the temperature inside the hive is too dry the moisture board absorbs some moisture from the air and releases it inside the hive. Thus it ensures proper temperature balancing for your hive.
When you are using a moisture board at the top of the hive if you wish you can remove the inner cover. Because a moisture board can easily replace all of the necessities of that cover.
But I would suggest you use an insulation board at the top of your moisture board. This will protect the moisture board from external damage and other problems.
To protect the entire thing you should place the telescoping cover at the top of that insulation box. This will make sure the complete safety of your beehive.
How To Install A Moisture Board On A Beehive
After making the moisture board you have to install it on your beehive. Follow the steps below to install the moisture board in a beehive.
- Open your hive top cover.
- I would suggest you use another same spacer below the moisture board. So, for one moisture board, I would suggest you make 2 spacers of equal dimensions.
- Then place the spacer first and above that spacer put the moisture board. You can put the moisture board on the top of your beehive in replace of the inner cover.
- You can put the telescoping cover right above the moisture board.
That’s all about making and installing your beehive moisture board.
Your moisture board now has enough space for passing moisture. It will ensure proper necessary moisture and temperature inside your beehive.
Are Moisture Boards Waterproof?
Moisture board can hold water for a few days. But it is not properly waterproof if you want to make and place it permanently. You have to keep checking if your moisture board becomes too wet or not.
If it becomes too wet the water from it can drop inside your hives which can be a harmful thing for your bees. So, make sure to change the moisture board when it gets too wet by using a dry moisture board.
Are Moisture Boards Reusable?
You can easily reuse the moisture board for 1 or more winters until the homasote board gets damaged. If either the homasote board or the spacer gets damaged just replace them with a new one to reuse the moisture board.
Also, make sure to have more than 1 beehive moisture board. Because you need to check the level of wetness on your moisture board frequently. The interval between two consecutive inspections should be at least a week.
When one of your moisture boards is wet enough replace it with the new one. And clean the wetted moisture board and put it in the sunlight to make it dry.
When it is properly cleaned and dry enough then you can reuse this. So you can replace the previous one when that moisture board gets wet.
What Are The Purposes Of A Beehive Moisture Board
Maintaining the moisture inside the beehive is a very important responsibility for both small and large beekeepers.
If you have a honey bee colony, for proper honey production you must maintain the humidity and temperature of the hive at a certain level. Moisture inside a hive can have some benefits for your honey bees.
Because with the increase of moisture, there would be an increase in carbon dioxide. If the increase of moisture is at a certain level then the produced carbon dioxide will kill varroa mites.
But if there is an excess of moisture and a high level of carbon dioxide, your bees can be attacked by other diseases. Your brood can be washed and die.
If you leave your colony with cold moisture and temperature for several days, you will notice serious damage to your colony.
So, not more or not less you have to maintain the proper moisture inside your beehive. This will ensure the safety of the colony. Because a healthy bee colony ensures a successful beekeeping journey.
Final Words About A Beehive Moisture Board
So, you know how important it is for us to maintain the moisture of our colony at a certain level. Beekeepers have been working very hard to maintain the moisture level of the colony for winter and spring.
They use moisture board, quilt board, moisture blanket, etc to keep their bees dry and protected from excessive moisture.
Usage of excessive moisture boards can also negatively affect your beehive. Because if your beehive becomes too warm varroa mites can attack your bees.
Also, excessive dryness or coldness can be harmful to pollen, nectar, and brood bees too. So, make sure to learn the amount of board you require as it is very depending on how many beehives you have. It also varies depending on the dimension of your beehive.
Remember beekeeping is not rocket science. Also, you and I are not rocket scientists in beekeeping. We both are still learning. So, we have to continue learning a lot more about our bees and the necessary things for their betterment.
However, to maintain proper ventilation and moisture in winter you can easily make a beehive moisture board at your home. You can also purchase one from an online store. Or if you wish you can use a quilt box which is a great alternative to moisture board.
Just learn and understand the requirement of your beehive. Then decide which one should you choose and which one would be best and most affordable for you and your beehive.
Ensuring the proper safety of your colony is compulsory to make your beekeeping journey successful. Maintaining moisture inside your hive is one of them. So, make sure to have a moisture board or other similar alternatives to maintain proper moisture inside your hive.
If you still have any queries let me know. Thank You. If you are interested to know the detail and some interesting facts about bees you can check this post.